Track Expenses Automatically in Excel — Free Budget Spreadsheet
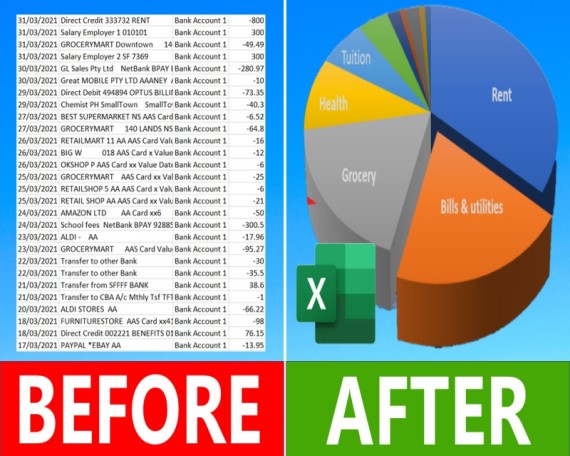
Want a smart, offline way to organize your finances without handing over banking data to third-party apps? This step-by-step Excel workflow lets you download, categorize, and track your transactions automatically — with built-in budgeting and tax tracking tools. It’s all free, subscription-free, and fully audit-ready.
🏦 1. Export Bank Transactions to Excel
- Log into your online bank and filter the date range (up to 2+ years).
- Click the Export button and choose CSV format.
- Save the file and open it in Excel. If it's not visible, change the file type to "All Files."
- Save it as an Excel Workbook to unlock formulas and Pivot Table features.
🧽 2. Clean Your Data & Build a Reference Tab
- Rename your sheet to Data and insert a column beside “Description.”
- Use the formula:
=LEFT([Description Cell], 25)to extract a consistent identifier from each transaction.
- Create a new sheet called Reference.
- Copy these identifiers as values into column A.
- Add Category names in column B (Groceries, Rent, Subscriptions).
- (Optional) Add column C called Tax Type (e.g. Business, Personal).
🧠 3. Automate Categorization with VLOOKUP
In the Data tab:
- Use VLOOKUP to match identifiers with categories:
=VLOOKUP([LEFT Cell], Reference!A:B, 2, FALSE) - For tax types:
=VLOOKUP([LEFT Cell], Reference!A:C, 3, FALSE)
Drag both formulas down the entire column to apply automatically.
📆 4. Add Time Filters (Month & Year)
Insert two new columns:
- Month:
=MONTH([Date Cell]) - Year:
=YEAR([Date Cell])
Now your Pivot Table can compare periods side by side.
📈 5. Create a Pivot Table Summary
- Insert a new sheet called Summary and create a Pivot Table from your data.
- Recommended fields:
- Rows: Category
- Values: Transaction Value
- Columns: Tax Type (optional)
- Filters: Month, Year
- Format values:
- Sum instead of Count
- Red font for expenses, black for income
- Add thousands separator
- Rearrange rows to see big expenses up top (Rent, Groceries, etc.).
💵 6. Add Budget Tracking & Conditional Formatting
- Copy your January actuals and paste values into the Data tab.
- Create a new Budget column beside Transaction Value.
- Paste your numbers and align categories, dates, and identifiers.
- Use a subtraction formula to calculate variance:
=Actual - Budget - Highlight insights using conditional formatting:
- Home → Conditional Formatting → Color Scales (Green–Yellow–Red)
This lets you instantly flag overspending and progress toward savings goals.
🎁 Download the Free Excel Tracker
I’ve prepared a free version of my Excel tracker to help you get started faster.
👉 Click here to access the free tracker and landing page
🎥 Watch the Full Video Tutorial
Prefer to follow along visually? In this step-by-step tutorial, I’ll walk you through:
- Downloading bank transactions securely
- Automating expense categorization using Excel formulas
- Building Pivot Tables to track spending and budgeting
- Separating business vs personal expenses
- Comparing actuals to budget using conditional formatting